
!%20%20)
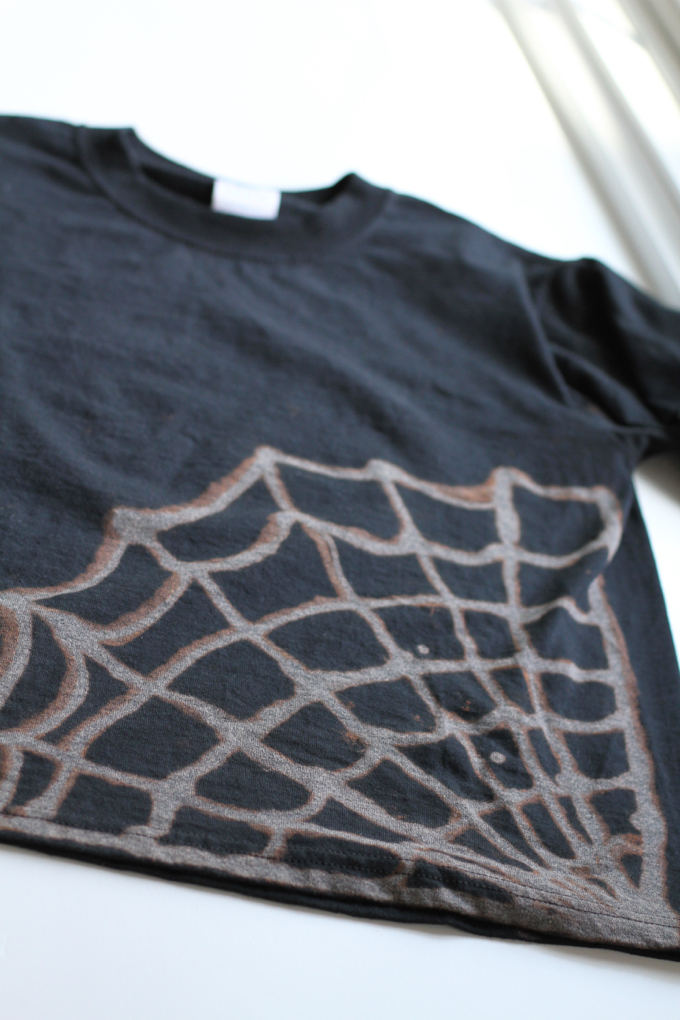
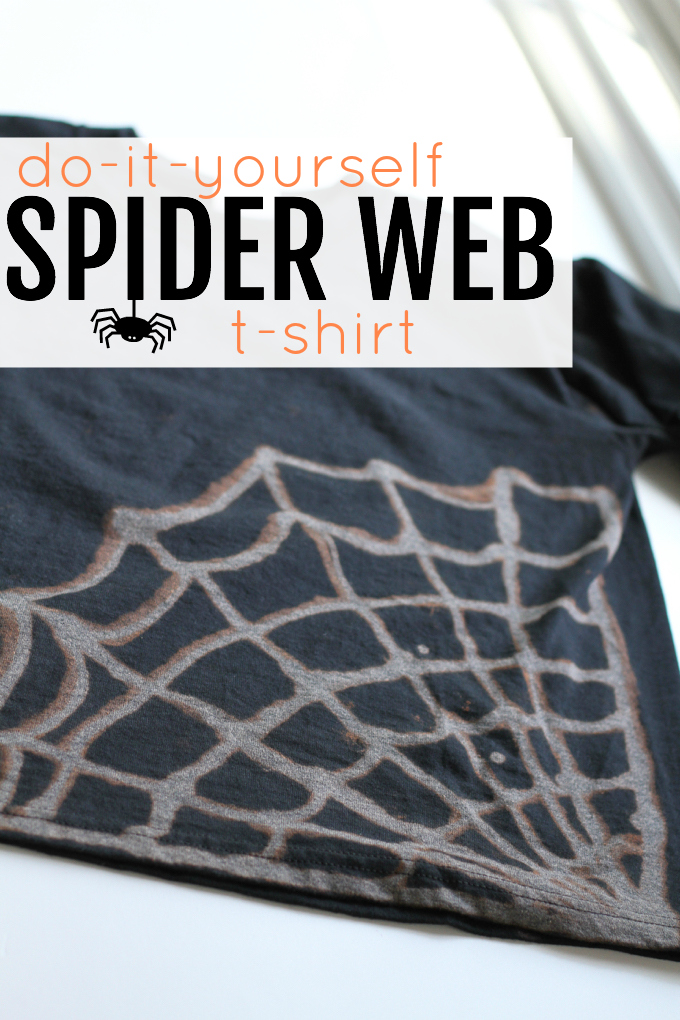
Little Brother had lots of fun making this DIY Spider Web T-shirt together. The web didn’t come out nearly as white as I had hoped, mainly because I realized too late that I bought the wrong kind of bleach pen. I would the bleach pen specifically for whites (it is white) rather than the blue pen. But Little Brother loves it nonetheless…and that’s all that really matters. 🙂
Please Note: Because this activity includes handling a bleach pen, it needs to be supervised AT ALL TIMES (no turning your back on your kid, got it?). Use your own discretion as to whether your child is old enough to help with this activity, but I definitely wouldn’t recommend it for children under 6 years old. Children 8 and older would probably be best, but still closely monitored.
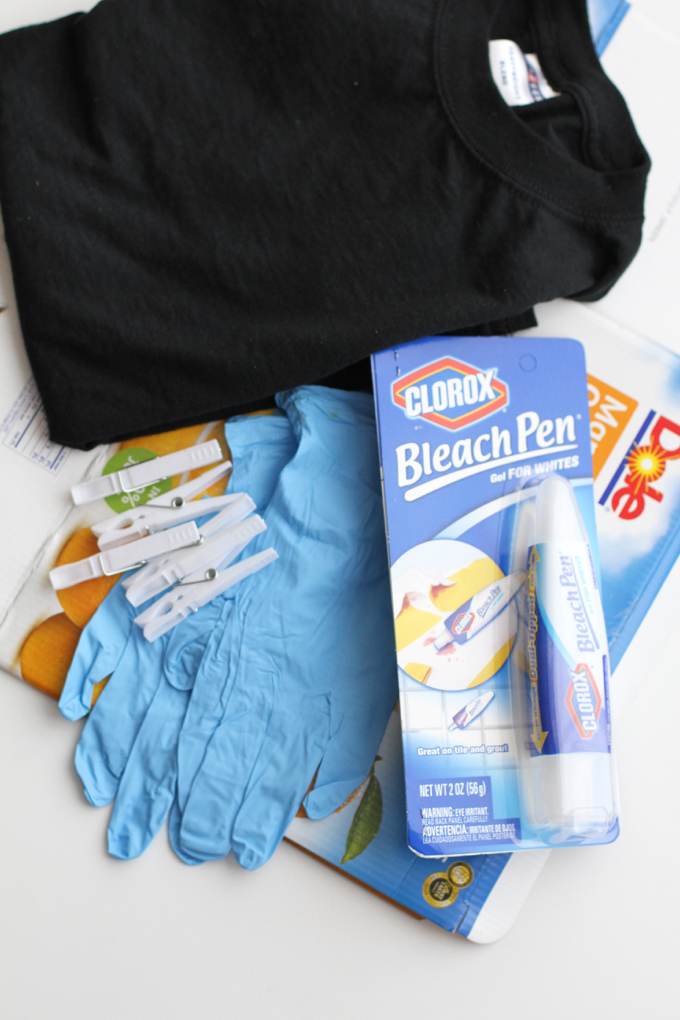
Here’s what you’ll need:
A Plain Black t-shirt (pre-washed)
Clorox Bleach Pen (make sure you get the blue kind, not the white pen like I did)
Exam Gloves
A Piece of Cardboard
Clothespins

1. Slip the cardboard inside the shirt.
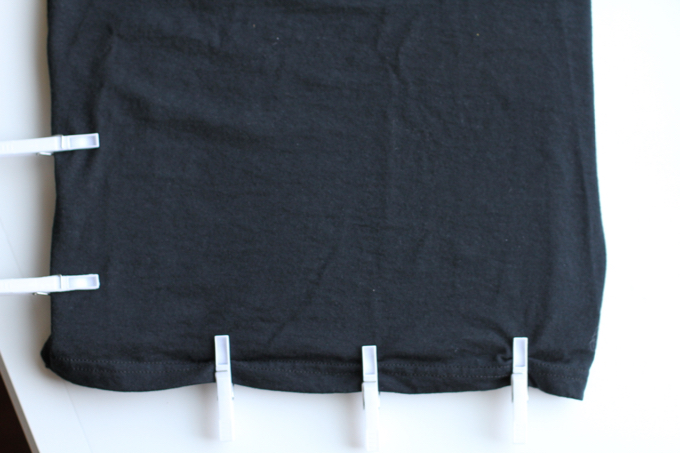
2. Use the clothespins to secure the shirt to the cardboard to keep it from shifting.

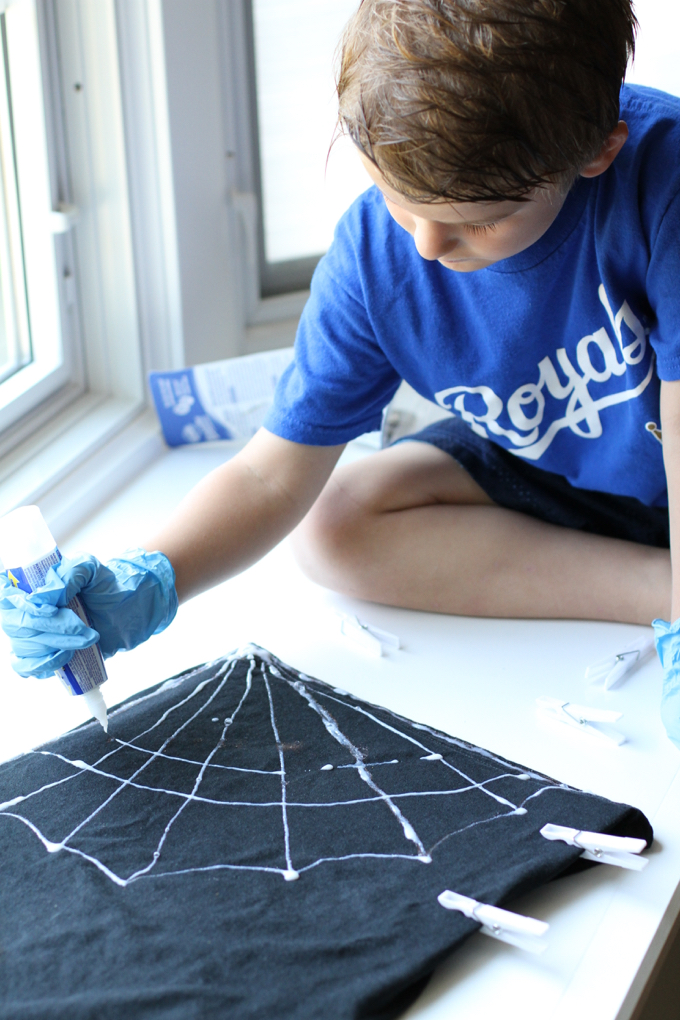
3. Have your child put on the exam gloves to protect their hands.

4. Give your child the bleach pen and help him/her begin to make a web on their shirt. You could use chalk to draw a rough outline ahead of time, but we just decided to free draw it.
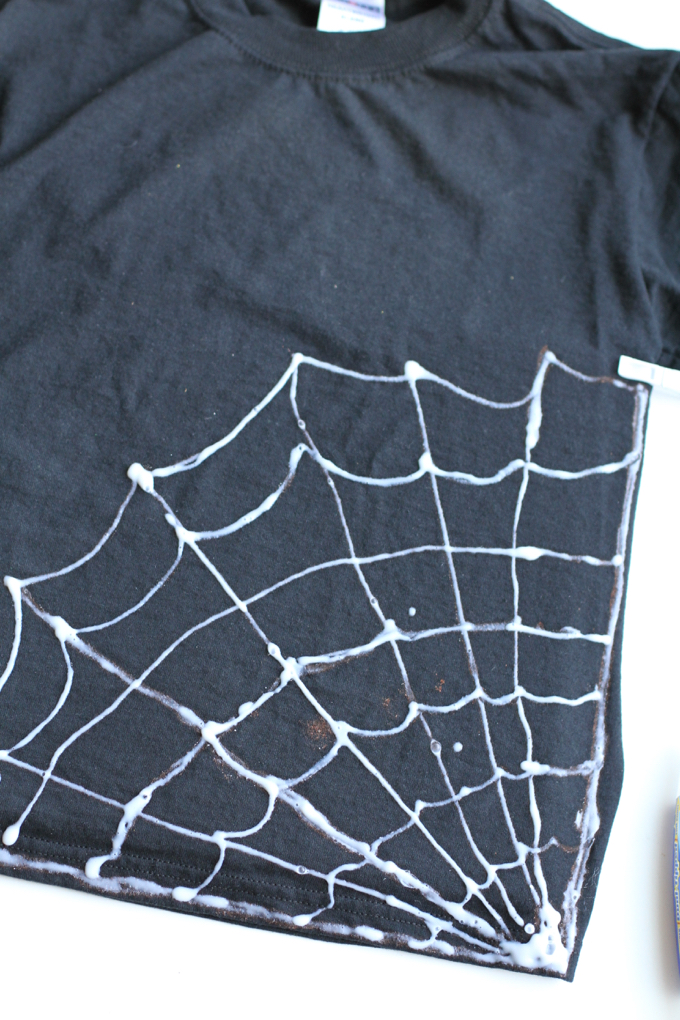
5. Once you are done, let it sit for about 10 minutes (or longer). Rinse the shirt in cold water to remove any remaining bleach (adults only…do not allow your child to help with this step). If you are satisfied with the degree of bleaching, go ahead and throw it in your washing machine. If you would like for it to be more bleached, repeat steps 4 and 5 and retrace the spider web. We ended up tracing ours a total of three times (remember, I bought the wrong pen).
Wash and dry the shirt in the washing machine (by itself).

Let your child enjoy wearing their creation!
Check out more fun Halloween-inspired activities here.


Leave a Reply